
Member Login
|
|
home | faqs | join now | try free version |
Member Login
|
Halloween Spooky Centerpiece Craft for Kids |
||
"Kaity's Crafts for Kids" |
||
|
Happy Autumn and Happy Halloween!! Halloween is such a great time for us crafters, and I think you will really enjoy making the Halloween craft. It is a great decoration or table centerpiece. It would really look great on your Halloween Party table. 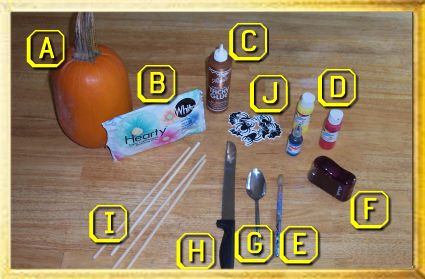
Items you will need to assemble this craft:
(For close-up views of images below, just click the pictures.) 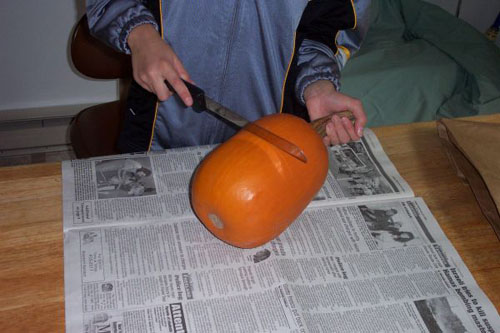
1. Cut your pumpkin in half. If you are under the age of 12, have an adult cut your pumpkin in half for you. 
2. Remove the seeds and gunk from inside each half with a spoon. Clean the pumpkin out thoroughly. You could save the seeds and roast them later for a great snack! 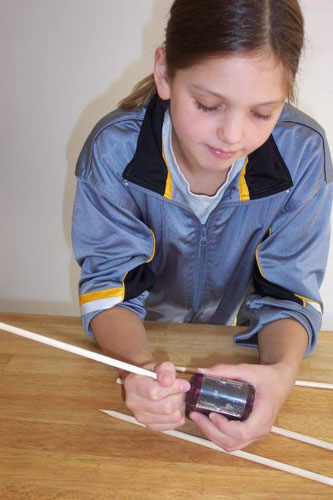
3. Sharpen both ends of each of the four dowels in the pencil sharpener. Make sure to get good sharp points on them. 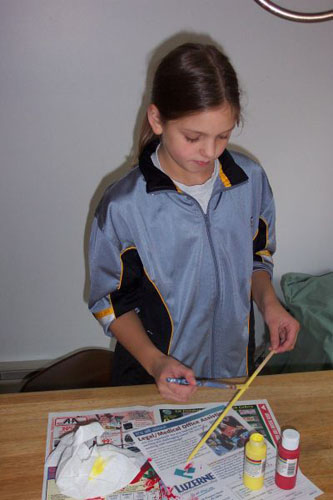
4. Paint the dowels. Paint two of them red and two of them yellow. Allow them to sit until thoroughly dry. 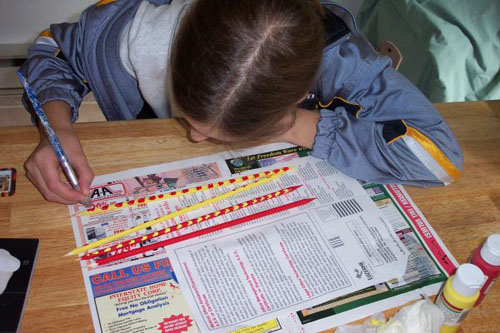
5. Now on the red dowels paint yellow dots, and on the yellow dowels paint red dots. Allow them to sit again until thoroughly dry. 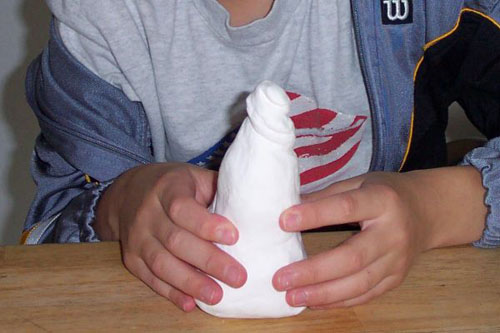
6. Use your modeling clay to shape a ghost. Make him suitable for the size of your pumpkin. He should fit inside and be visible, not too small. Knead the clay until it is smooth. Shape the clay into an oblong smooth piece. Gently twist the top portion to create a ghostly head. 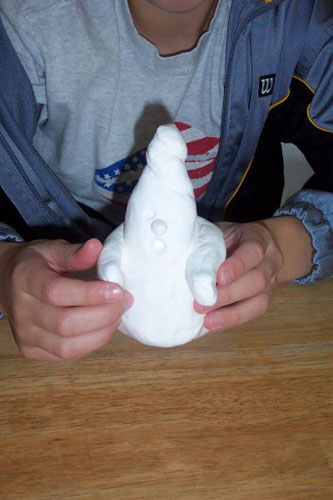
7. Shape arms from small pieces of dough. Position the arms onto the ghost's body and press into place. Also shape a little round nose and press into place on the ghost's face. Then poke two little holes for eyes and a bigger round hole for the mouth. 
8. Paint black in the eye holes and the mouth hole. 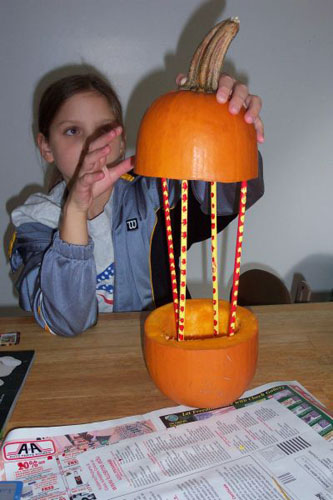
9. Insert the four dowels into the bottom half of the pumpkin, then place the pumpkin top on by firmly pressing into the dowels. 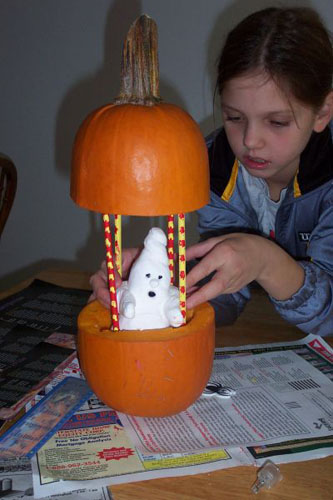
10. Insert the ghost into the center of the pumpkin. Position his arms on the sides to hold him in place. If that doesn't work you can press toothpicks into the bottom of the pumpkin. Position the ghost over the toothpicks and press the ghost into place. 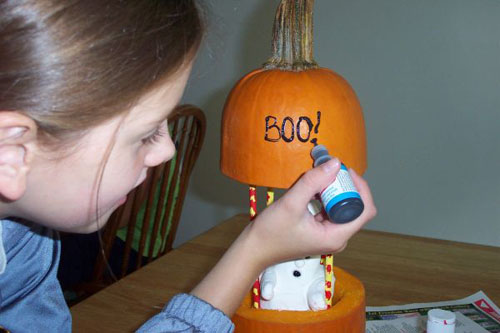
11. Now you can decorate the outside of the pumpkin, With the black paint I wrote the word "BOO!". You could write whatever you want, but make it scary. 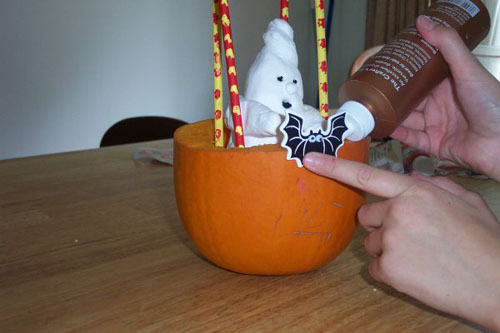
12. Next I glued wooden decorative bats around the outside of the pumpkin. You can decorate the outside of your pumpkin any way that you want to. Use your imagination and have fun. Use cobwebs, spiders...whatever you can think of! 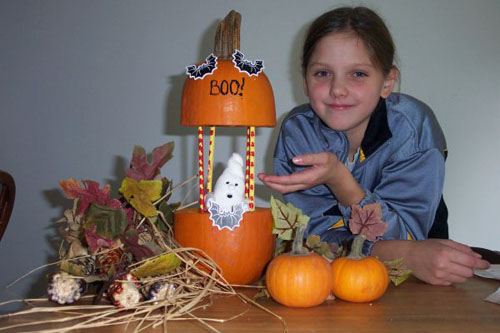
13. And here is the finished product. Isn't it cute?! It's a perfect centerpiece for a Halloween or Autumn table setting. Happy Halloween! © 2002 - 2011 Kaitlyn Krysiak and David Nelmes - All Rights Reserved <- Main Index |
<- Main Index |
|
|
© copyright 2003 - 2024 - CreateEcards.com & David Nelmes |
|||